It's been a while since the last post. I decided that if I had to chose between writing PowerShell and writing about PowerShell, I should favor the former.
In this episode, I'll talk about how to create connections between objects in a Visio diagram. Turns out it's not really that hard (just like most things with Visio so far), but there some interesting things we can do with the connections once they exist.
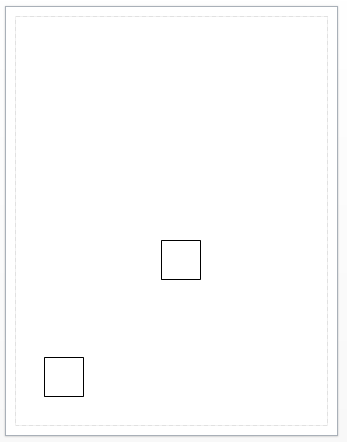
So, to start with, let's get a some shapes on a page. If this doesn't look familiar, refer back to the earlier posts in this series here:
$visio=New-Object -ComObject Visio.Application
$Document=$Visio.Documents.Add('')
$rect1=$Visio.ActivePage.DrawRectangle(1,1,2,2)
$rect2=$Visio.ActivePage.DrawRectangle(4,4,5,5)
Here's what that got us:
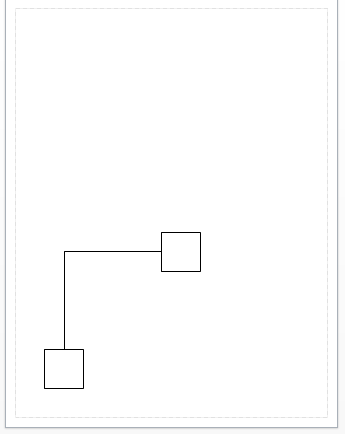
 Now, we have 2 shapes, $rect1 and $rect2. To connect them, we'll use the AutoConnect() method on one of the 2 shapes. Since Visio connectors are directional, that is, they have a start and an end, it matters which one we use.
$rect1.AutoConnect($rect2,0)
The AutoConnect() method takes three arguments:
- The shape you want to connect to
- The direction (relative to the first shape) you want to move the connected shape to (0 means don't move the second shape)
- The shape you want to use as a connector
In this example, we chose to not move the second shape, and used the default connector.
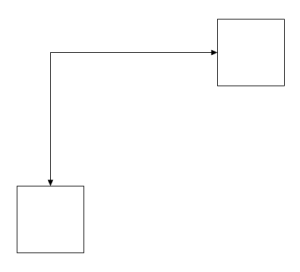
The result looks like this:
 There are several interesting things about this connector:
- It doesn't indicate direction (you can't tell which way the connector goes)
- It's dynamic (it will move/route as you move the two shapes)
- We didn't get a reference to it as a result of the AutoConnect() method
We'll start by addressing the last point. Since we didn't get a reference to the connector, how can we find it? It turns out that just about everything in Visio is a shape, so we can look at the Shapes collection on the page:
$Visio.ActivePage.Shapes | Select-Object Name
In the output, you will see, at the end, a shape called "Dynamic connector". That's our new connector, duh.
$connector = $Visio.ActivePage.Shapes['Dynamic connector'] | select -Last 1
I picked the last one in the collection in case there were others. Visio adds to this collection as shapes are added to the list, so this should be safe.
Now that we've got a reference to the connector, how can we designate which end is which? In the Visio GUI, we would click the Line drop-down on the ribbon and select the arrows, or dots, that we wanted. In PowerShell, it's a different story altogether.
First of all, there's not an Arrows property that we can use. That would be too easy. It turns out that in Visio, everything has what's called a ShapeSheet, which is kind of like a bunch of little spreadsheets that control every aspect of how the object behaves in Visio. Accessing cells in the ShapeSheet can be done several ways, but typically you either use the Section, Row, Column reference, SRC, or a special named cell. These references look something like this:
$Shape.CellsSRC($section,$row,$column)
and
$Shape.Cells('CellName')
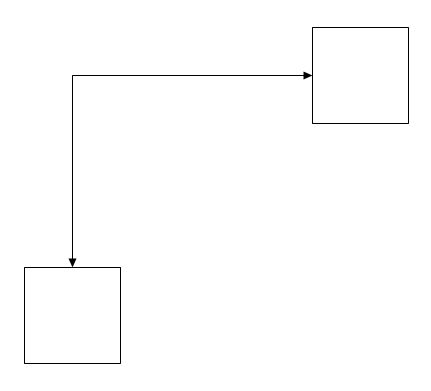
To set the ending arrow for a connector, there's a named cell called EndArrow which tells Visio what symbol to draw at the end of the connector. We're going to set the cell to 4. The number can apparently be anywhere from 1-45 to display different arrows.
$connector.Cells('EndArrow')=4
And the resulting arrow, zoomed in so you can see it:
If we wanted the arrow to be bi-directional, we could also set the BeginArrow cell.
$connector.Cells('BeginArrow')=4
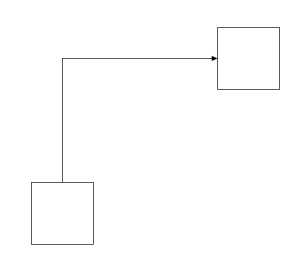
Ok. Now for #2. Can we change how the connector routes? I often like to use straight lines because they're easier to follow. To change the connector to be straight, we have to resort to the ShapeSheet again. However, there's no named cell this time, see P.S...I found names. Now, we have to know the SRC to where the cell is. In fact, for this there are 2 cells that we have to set, so we need to know both SRCs.
$connector.CellsSRC(1,23,10) = 16
$connector.CellsSRC(1,23,19) = 1
That's pretty cryptic, right? Absolutely. It turns out with Visio, there are about 40 bajillion different constants to use. This
link will help you with some, but they aren't organized much. This page is organized a little better, but it's still hard to know where to look. The constants in this example are:
- visSectionObject = 1
- visRowShapeLayout = 23
- visSLORouteStyle = 10
- visLORouteCenterToCenter = 16
- visSLOLineRouteExt = 19
- visLORouteExtStraight = 1
So that's a mess, at least to me. How in the world do we figure these out? The easiest way is to record a macro and do what you want to find out about, then look at the VBA. The VBA code for setting a connector to a straight line looks like this:
Application.ActiveWindow.Page.Shapes.ItemFromID(3).CellsSRC(visSectionObject, visRowShapeLayout, visSLOLineRouteExt).FormulaU = "1"
Application.ActiveWindow.Page.Shapes.ItemFromID(3).CellsSRC(visSectionObject, visRowShapeLayout, visSLORouteStyle).FormulaU = "16"
That, with some googling, can get you what you need. I'm working on a better solution, but it's not ready quite yet. :-)
That's enough about connectors.
Let me know what you think in the comments, or on Twitter.
Mike
P.S. Found the named cells for making straight lines: ShapeRouteStyle and ConLineRouteExt.